Thanksgiving is less than one week away people! We had our family Thanksgiving early this year due to scheduling conflicts, so I can say the Cornbread Bacon Stuffing turned out perfectly and was just as delicious as I remembered! Along with the stuffing, it was my responsibility, for the first time ever, to make the Apple Pie. That’s a lot of pressure!
I wanted to be ready, so a few weeks ago, I did some research, looked up various pie recipes, and then made a test pie. The results? The filler was top notch but the crust was a little thick and heavy rather than light and flaky. So, I made some tweaks to the crust recipe and am happy to report that when the big moment came, I baked the best apple pie I’ve ever had! The trick? Lard. I know it sounds gross but boy does it make for a tasty flaky crust.
Like all of my baking, I use measurements as a guide and recommendation rather than following everything to a tee, especially when it comes to sugar and cinnamon. 🙂
A few things I learned:
- Make the filling after you put the crust into the fridge, well before you need it, so it has time to cool.
- Remember that the apples will cook down significantly, so you can blend the cooked apples with two or three uncooked apples to add some volume and crunch.
- You can use a rolling pin to transfer the rolled out pie crust into the pie pan, which is way easier than trying to pick up the crust by hand.
- Lastly, when in the oven, if the crust starts to get a little brown on the top, briefly pull the pie out and cover with aluminum foil that has a hole cut out of the center. This will allow heat to get through but will protect the crust from being burnt.

- 2 1/2 cups all purpose flour
- 3 Tbs sugar
- 1/2 tsp salt
- 1/3 cup lard cold, cut into medium pieces
- 1 1/2 sticks cold butter cut into 12 pieces
- 5 Tbs ice cold water
- 1 egg lightly beaten
- 2 Tbs lemon juice
- 3.5-4 pounds Granny Smith Apples peeled, cored, and cut into thin slices
- 3/4 cup sugar plus more for sprinkling on top of the pie
- 1/4 cup butter
- 1 tsp cinnamon
- 1/2 tsp nutmeg
- Combine the flour, sugar, and salt in a food processor and pulse until mixed. I use the processing bowl from our Ninja Ultra Blender System
and it works like a charm.
- Add the butter and lard and pulse until it resembles cornmeal with pea sized bits of butter.
- Add the ice cold water and pulse until mixed. Remove from blender and bring the dough together by hand on a lightly floured counter. You may need to add more flour so that the dough feels less sticky and has a drier cookie dough feel.
- Divide the dough in two, form into a slightly flattened disc, and then wrap both pieces in plastic wrap and refrigerate for at least 1 hour.
- Put the lemon juice into a medium bowl. Peel, core, and thinly slice all the apples then toss with the lemon juice. Add the sugar, cinnamon, and nutmeg then mix to combine.
- In a large skillet, melt the butter over medium heat. Add the apple mixture and cook, stirring often, until the sugar dissolves and the mixture begins to simmer, ~ 5 minutes.
- Reduce heat to medium-low, cover, and cook until the apples soften and release most of their juices,~ 7-10 minutes.
- Strain the apples in a colander over the medium bowl to catch all the juice. Try to collect as much liquid as possible and then return the juices to the skillet, simmering over medium heat until thickened and lightly caramelized ~ 10 minutes.
- Mix the caramelized juice and the apples in the bowl and set aside to cool completely. You may choose to add in uncooked apples at this point as well should you want more filling in your pie. 🙂
- Remove the dough from the fridge and roll each half into a disc about 11-12 inches wide on a sheet of parchment paper.
- Layer the pieces of parchment paper, cover with plastic wrap, and let sit in the fridge for at least 10 minutes.
- Place an oven rack in the lower third of the oven then preheat the oven to 375 degrees. Spray a 9 inch pie dish with cooking spray and then layer the bottom of the pie dish with one of the discs of dough. Trim it so it lays about ½ inch beyond the edge of the pan. Add the filling and mound it slightly at the center.
- Brush the top edges of the dough with the egg and then place the second disc of dough over the top. Fold the top layer under the edge of the bottom layer, pressing together to form a seal.
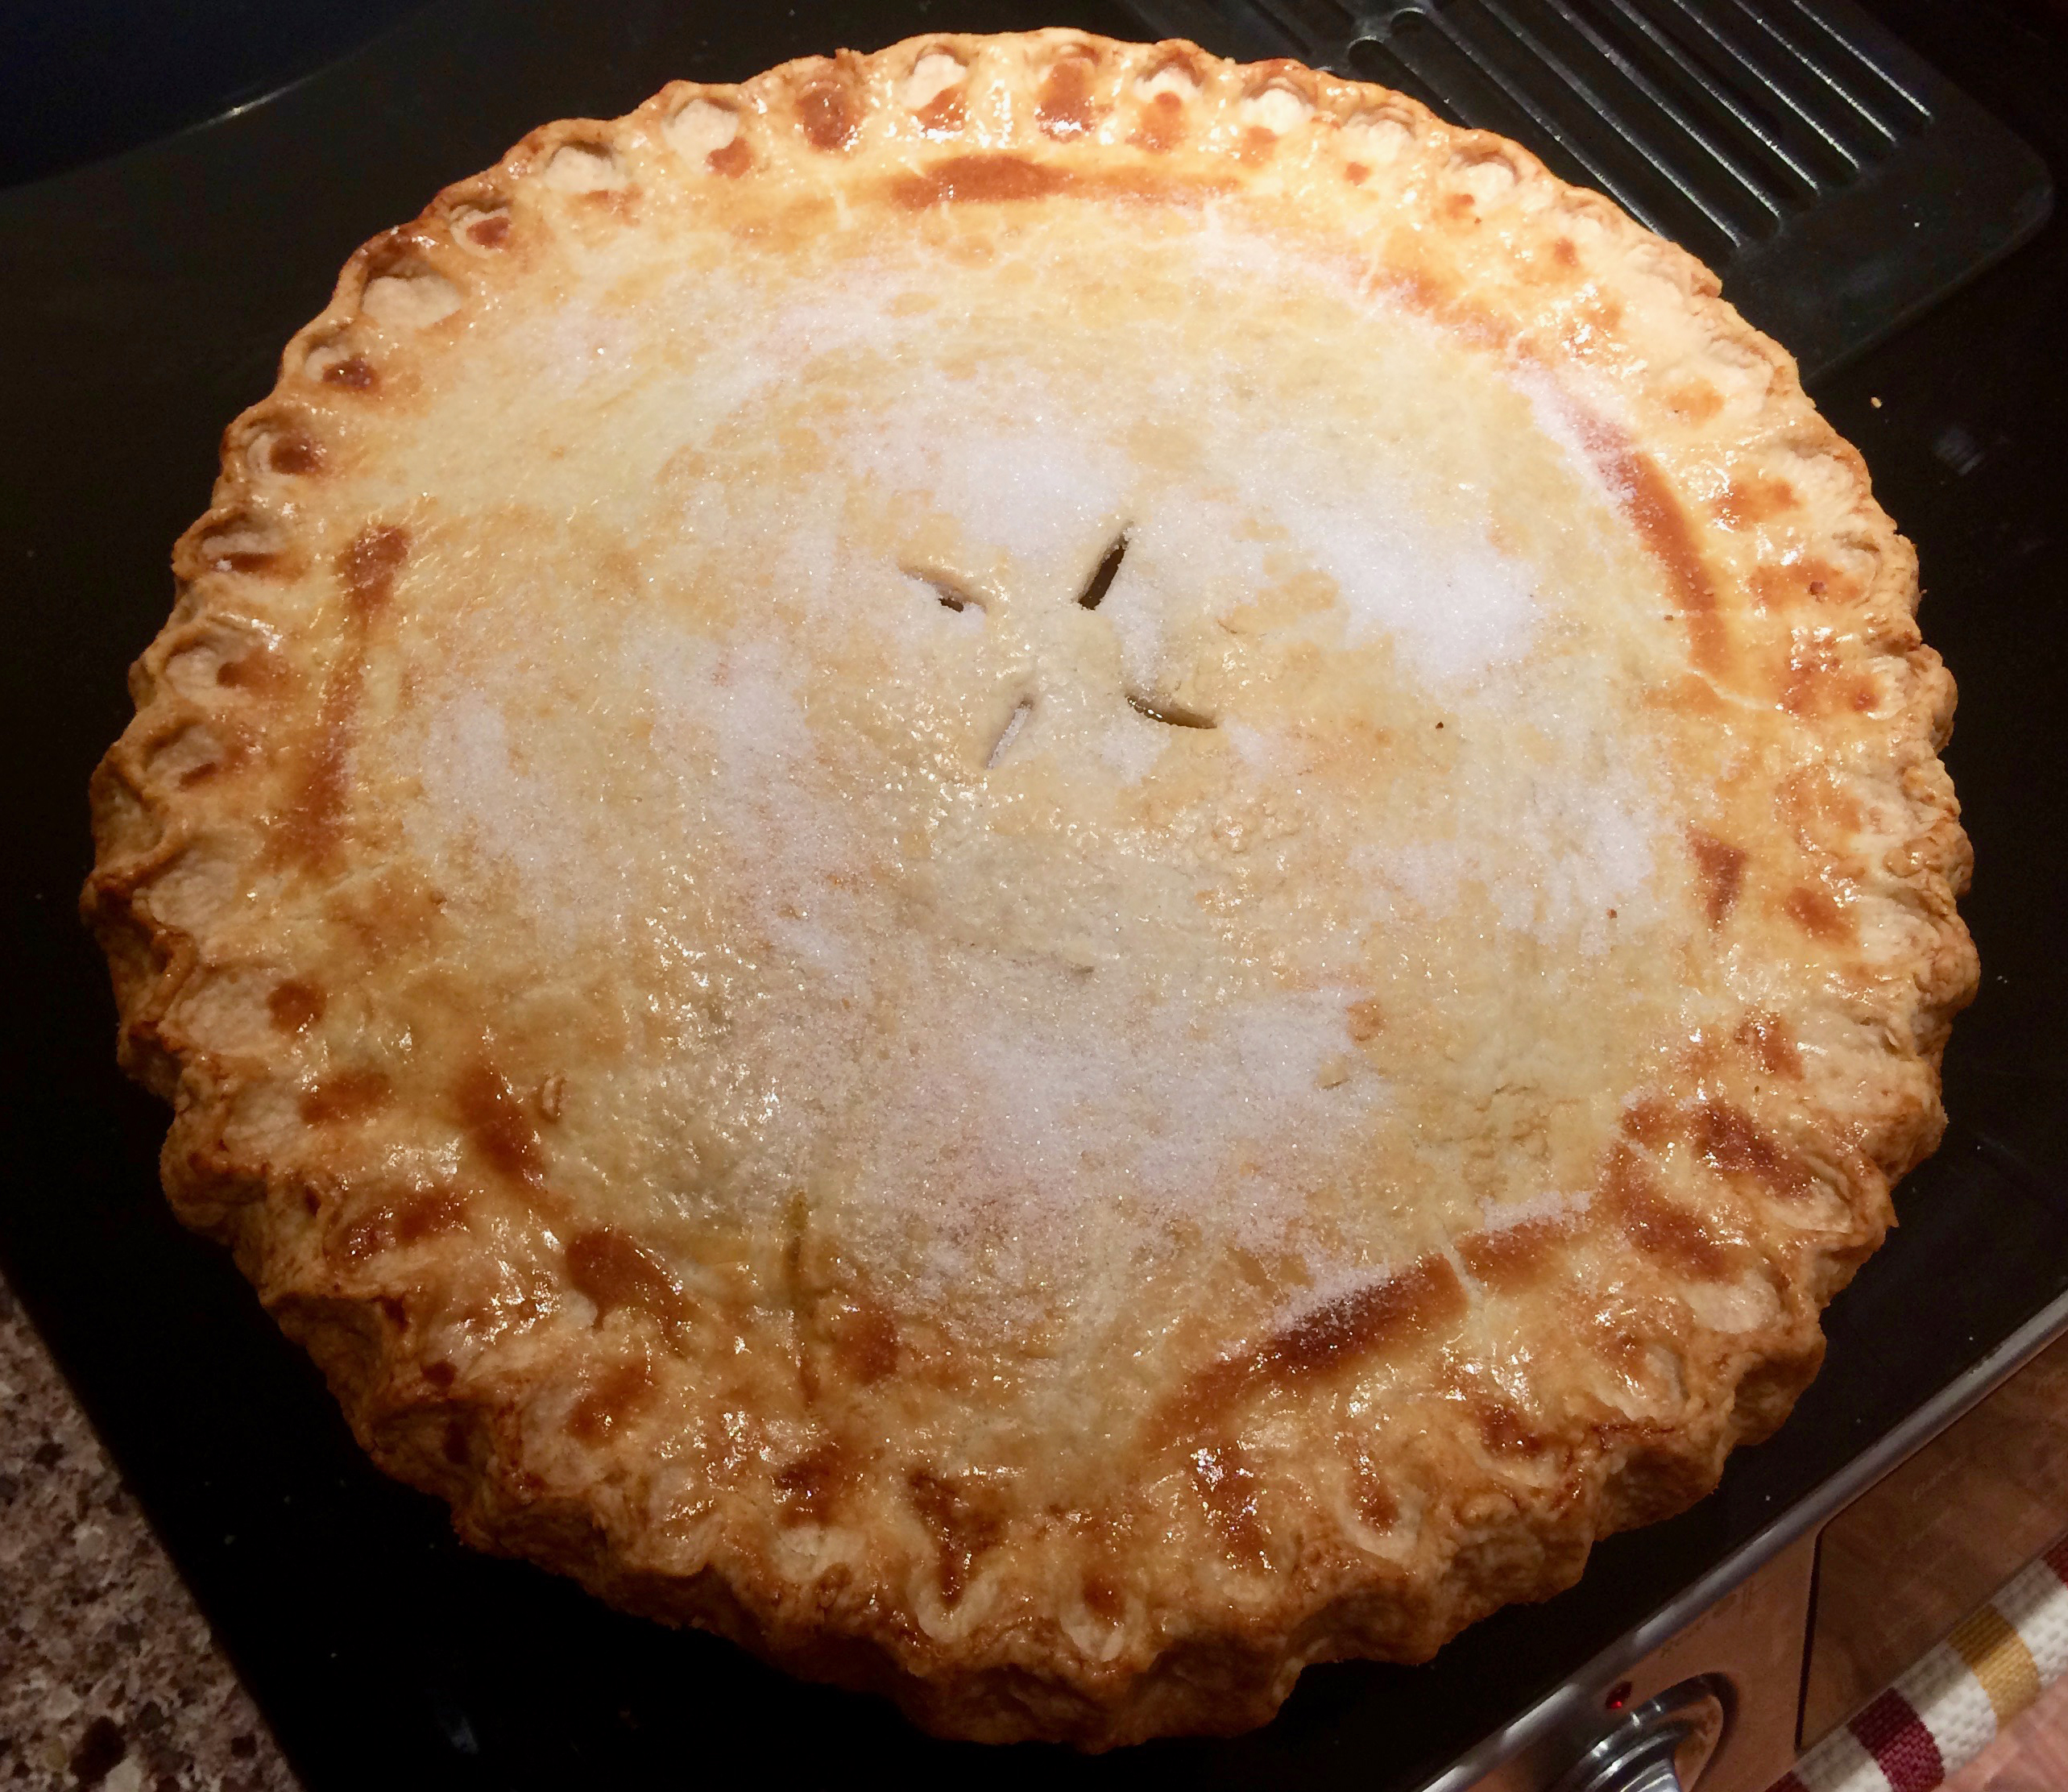
- Flute the edges as desired and then brush the surface of the dough with the remaining egg and then sprinkle with sugar. Pierce the top of the dough a few times to allow steam to escape. Refrigerate for at least 15 minutes.
- Bake the pie on a baking sheet until the crust is golden, ~ 50 minutes. Let it cool a little bit before serving and then dig in!
This pie keeps well on the counter, covered for 24 hours or refrigerated for up to 5 days.
Check back on basilbelle.com for the latest and tastiest recipes.
