WARNING: Wear nose-plugs while you make this lest you want to pull it out of the oven and devour it before it’s done cooking. You’ll burn your mouth, and you’ll be eating half-baked bread. Not so good.
But if that’s what you really want, don’t let me stop you!
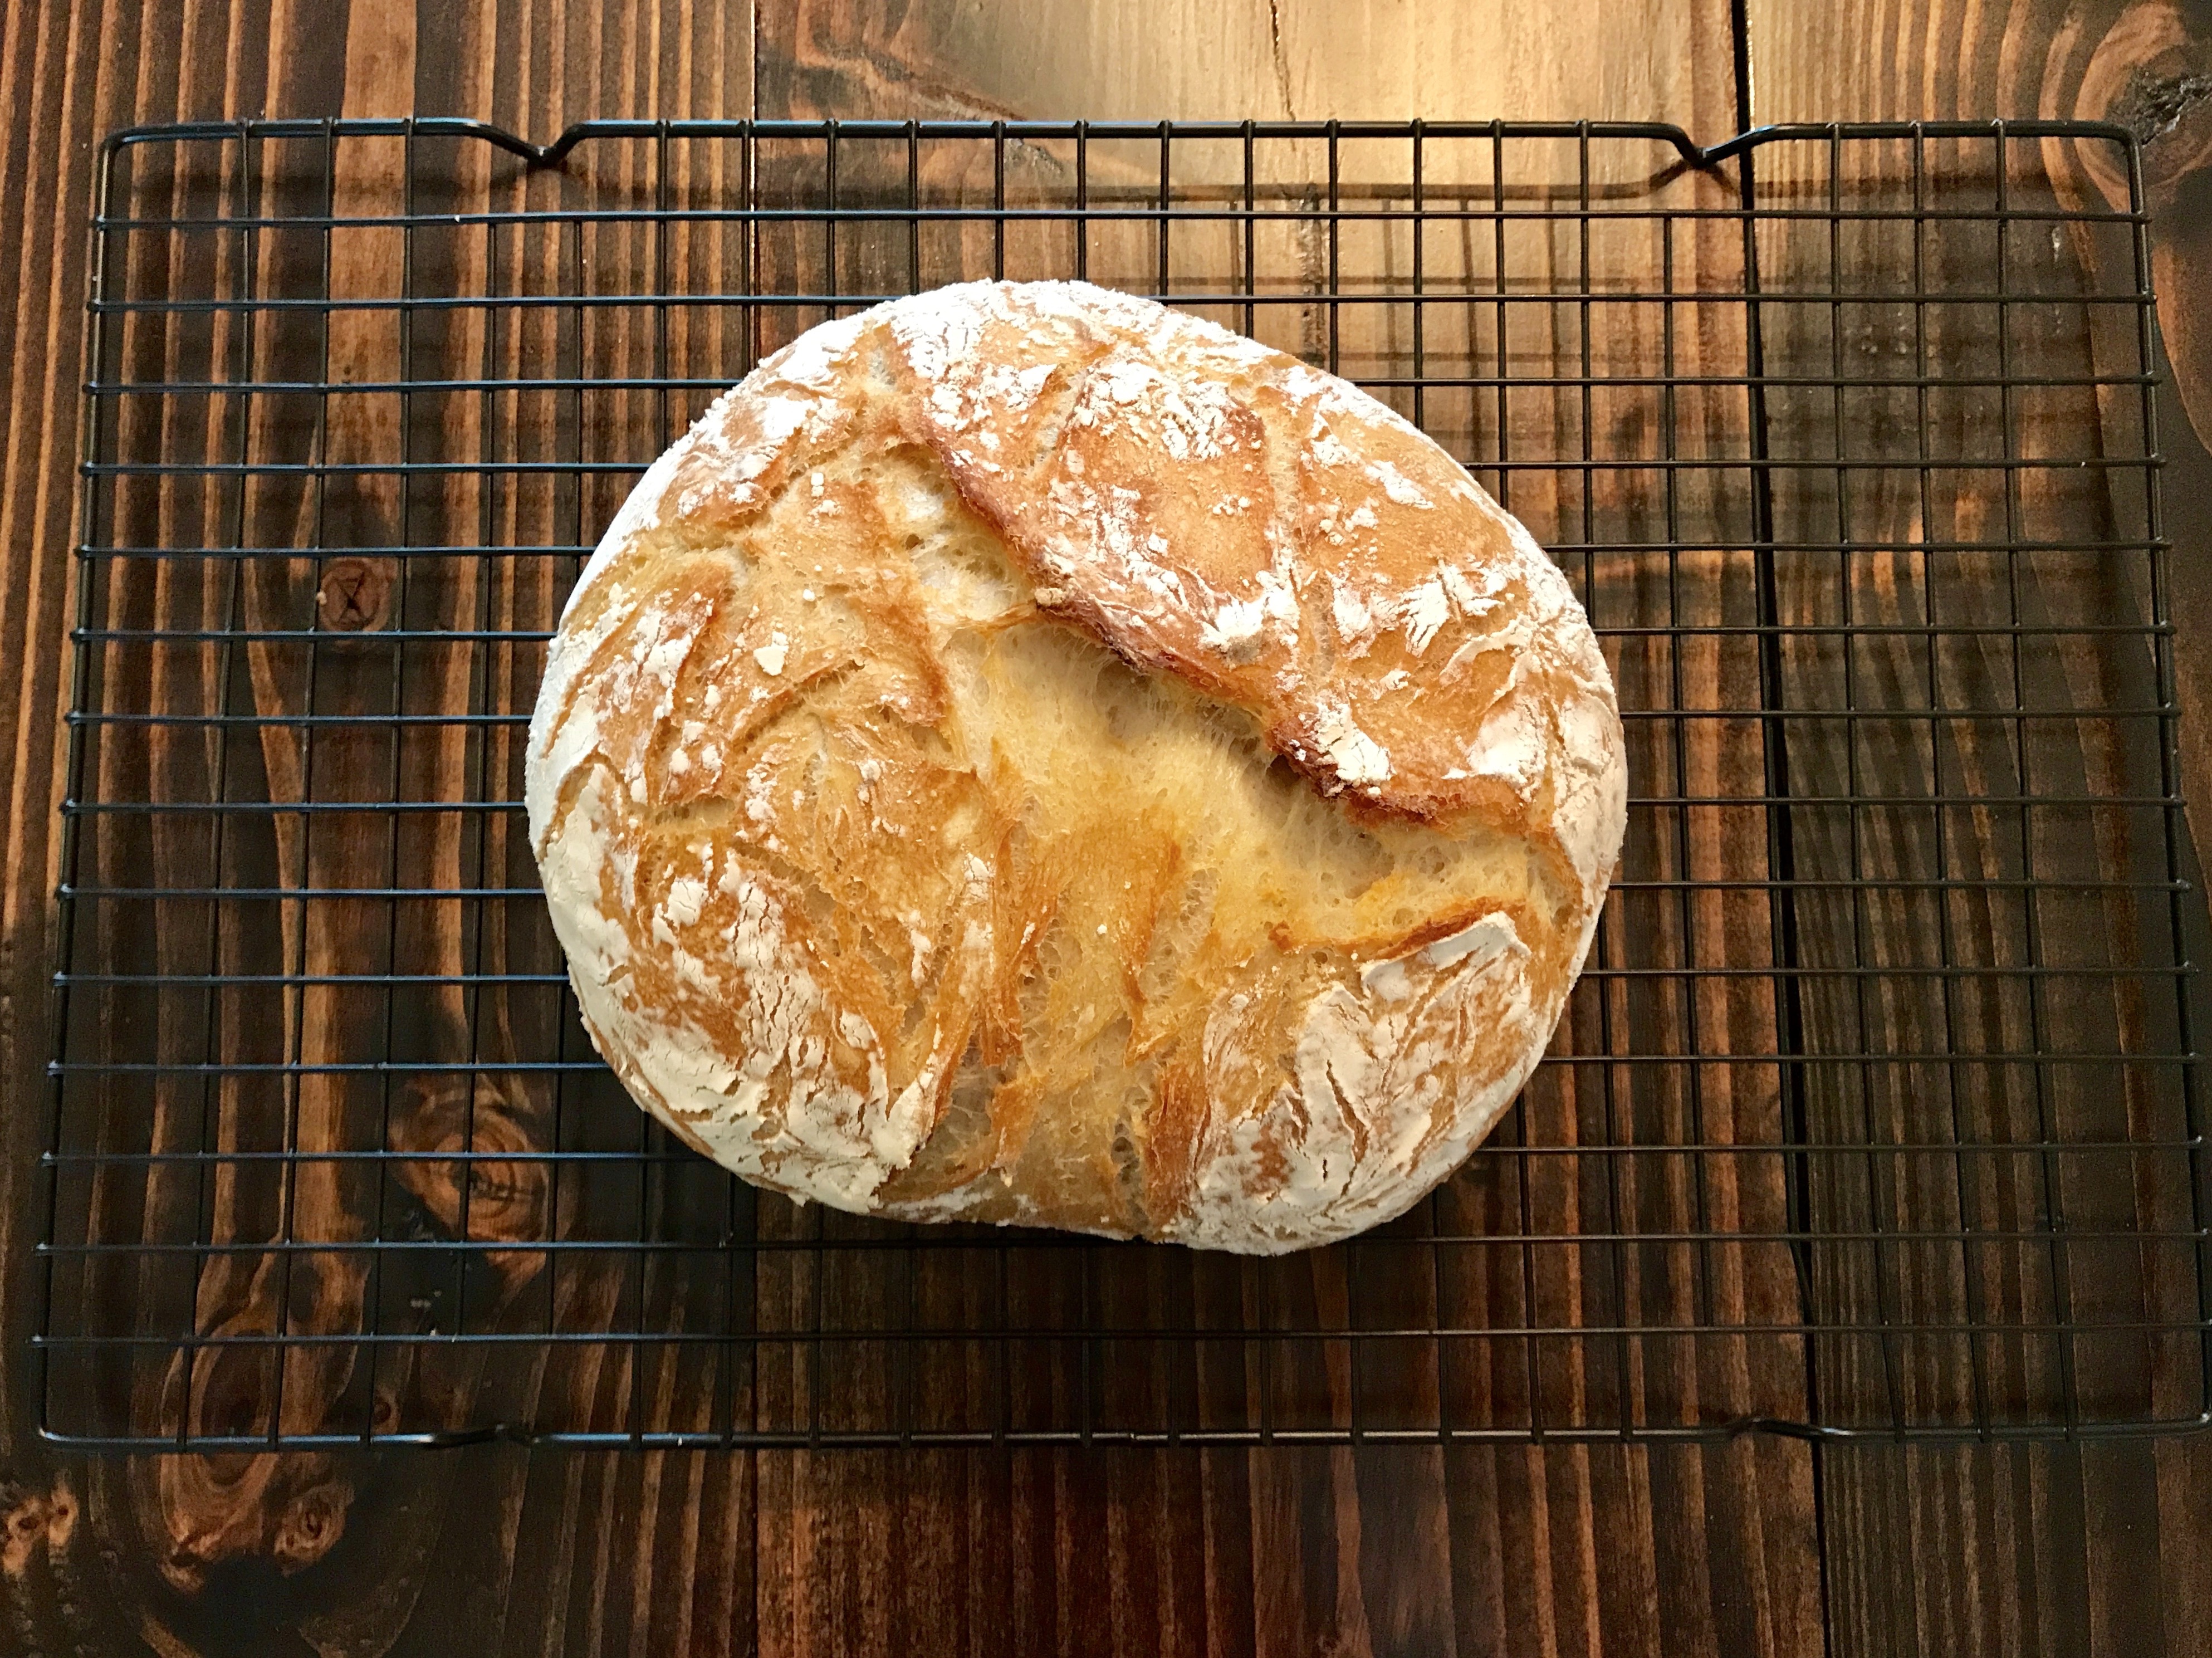
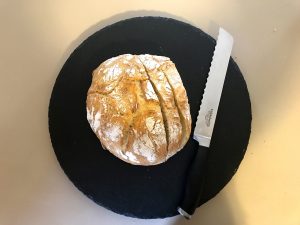
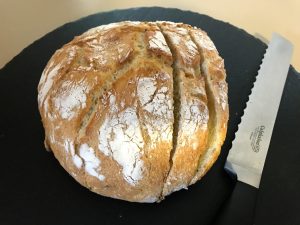
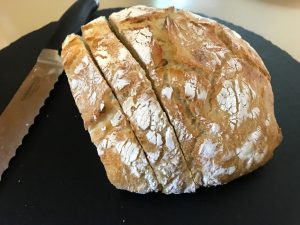
If you have the patience to let this bake and then cool for a little bit, you’ll be astounded with the flavor and goodness that’s contained within this bakery-worthy bread-loaf. It’s dense, delicious, and has actual pieces of garlic in it. What’s not to love?!
True story: I made this last week for a girls night, or at least that was the intention… Our get together was at 5:30pm, so I put this in the oven around noon thinking that’d give me plenty of time to clean up, take care of a few other things, and then head out to enjoy an evening with my favorite ladies. Well, as the fumes of freshly baked bread filled my house, I quickly faced the music that one loaf simply would not do. There was no way I could wait until 5:30 to try a slice. I mean, what if it was disgusting?! I couldn’t serve that to my friends?!
So I cut myself a small slice, added some butter because why not, and took my first bite. Holy heavens! This bread was not going to make it to the event because it was that good! SO, after a few more pieces, I decided I’d roll up my sleeves one more time and bake a second loaf that would remain uncut, uneaten, and fully intact for my 5:30 arrival time. Justin and I could enjoy the already partly devoured loaf ourselves over the next few days… or hours. 🙂
Disclaimer: my girlfriends are the sweetest people in the world, so even if they didn’t like this, they wouldn’t say.
But they could not shut up about this bread! It was a total hit. And I hope it’s a hit for you, too. Cause I know you’re going right to the store to pick up ingredients to make this ASAP! I hope you truly enjoy this one ladies and gentlemen. It’s one heck of a homemade bread.
Note: I didn’t have a dutch oven, so I used my amazing Calphalon 8-quart pot. I also highly recommend using a KitchenAid Stand Mixer!

- 2.5 cups flour
- 1.25 cups warm water around 100 degrees will do
- 1 packet active dry yeast about 1/4 oz per packet
- 1.5 tsp sugar
- 1 tsp salt
- 4 cloves garlic sliced
- 1 tsp dried rosemary
- extra flour on hand for kneading
- In a large bowl or stand mixer with a dough hook (recommended), add the yeast, sugar, and warm water. Do not stir immediately but let sit for 5 minutes, then stir. After stirring, add in your salt and stir for a few seconds.
- In a separate bowl, combine your flour, salt, sliced garlic cloves, and dried rosemary. Then slowly add the flour mixture to the bowl while the dough hook is churning around on medium-low speed. Once the dough begins to leave the sides of the bowl, turn off the mixer, remove the dough hook, and then lightly flour all sides of the dough. Cover with a towel and let rise for 1 hour.
- After the hour is up, carefully roll the dough out onto a lightly floured cutting board. You may need to sprinkle a little more flour on top first. Then, gently fold the edges into the center like an envelope. Do not heavily knead this or punch the middle! You'll get rid of the good air bubbles.
- Place the dough into a medium sized bowl, folded side down, then cover with a towel and let rise for 30 minutes. During this time, you'll want to preheat your oven to 450 degrees. While it preheats, place a medium size dutch oven (I used an 8oz stock pot) in the oven to heat up during the preheat.
- Once the 30 minute is up and your oven is preheated, carefully place your risen dough in the pot folded side up this time. Cover, place back in the oven, and let bake for 30 minutes. I know it'll be hard, but let this cool for 15-20 minutes before slicing. Enjoy!
